
The phrases caster and camber refer to a pair of front-end settings that are independent of each other, but since it’s rare that one can be adjusted without affecting the other, they’re usually done at the same time.
The best way to remember the difference was articulated by Speedway Illustrated contributor Ramey Womer who suggested racers keep in mind that camber refers to moving the top of the tire closer to or away from the engine, where the cam, as in CAMber, is located. Caster refers to the fore and aft position of the upper ball joint as it relates to the bottom ball joint, the same direction and/or motion as a fisherman CASTs a rod.
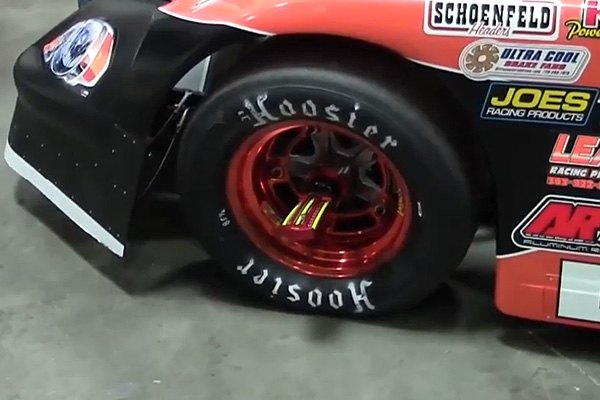
For stock car racers like us, the camber adjustment helps to have the tire’s contact patch flat on the track as the car corners; that’s why you’ll see huge amounts of negative camber (top of the tire tilts toward the engine) on the right front of most stock cars. Less noticeable because it’s usually a smaller amount is the positive camber (tire tilts away from the engine) on the left front. Then as the car turns hard left, the tires are closer to straight up and down, which leaves the biggest footprint, or tire contact patch, on the track.
The caster setting mostly affects how twitchy the steering feels. Moving the upper ball joint back, toward the firewall behind it, as it relates to the lower ball joint (which for our purposes is stationary), increases positive caster and makes the car more stable going straight, but harder to turn. Moving the upper ball joint forward, past the point of being directly above the lower ball joint, increases negative caster and makes the car more darty. Caster also affects how tires are loaded, so the amounts your chassis builder wants you run are based the total and the difference between the left and right, called caster split.
Conventional caster and camber adjustments are made by adding or removing shims between the upper control arm and its mount on the chassis. As a matter of simple adjustment, the lower control arm’s ball joint is stationary, so caster and camber are adjusted by moving the upper ball joint’s position over the lower one by using shims, washers, and in some cases a differently-shaped upper control arm.
Some upper control arms bolt in front of the bracket and others behind it. Your car’s configuration will determine which direction the upper ball joint moves by adding or removing shims. If you’re racing a street stock-type chassis with factory upper control arms, they probably mount behind the bracket. Adding an equal amount of thickness shims to both bolts on the right front will move the upper ball joint closer to the engine and increase negative camber.
Measuring caster and camber is easy. Attach a caster/camber gauge by threading it on the spindle or, if you’re using a magnetic type, remove the bearing dust cap and position the gauge against the hub. (Passenger-car type gauges do not have enough range for most racers, so you should use a racing one like the Longacre model shown.)
The gauge has three bubbles: level, caster, and camber. Adjusting the level bubble is the first step to reading camber; the second is determining which of the gauge’s two vials is for camber (it will be marked and won’t have an adjustment knob) and then read the number across from the mid-point of the camber bubble. There’s a positive and negative side to the scale so be sure you’re looking at the one you want. If you’re looking for five degrees of negative camber on the right front, but the gauge shows only four degrees, add shims to the upper control arm bolts if it mounts behind the bracket (or remove them if it’s in front).
In most cases you won’t need to remove the upper control arm’s mounting bolts, just loosen the nut and insert or remove a three-sided shim and retighten.
Be wary of running an excessive amount of shims because a large stack of them can become dislodged — even with incidental on-track bumping — so consider replacing many shims with washers or even a cut-to-length piece of tubing since they’ll have the same effect as a shim, but won’t pop-out like a shim can. Leave one or two shims in there with the washers for quick adjustment since washers require the bolt to be completely removed (and for safety don’t remove both upper control arm bolts at the same time).
Setting camber should be a combination of your chassis manufacturer’s recommendation and tire temperatures are taken using a pyrometer at three points across the tire. This information can show how close the camber setting is to what is best. The hottest part of the tire is working the hardest. Ideally you’d like the tire to be equally heated along its tread. But if the area of the right front tire’s tread closer to the grandstand is hottest and the area of the tire tread closer to the engine is coolest, that’s a strong indication that you need more negative camber.
Caster measurement requires the wheels to be turned outward on the side you’re doing (when doing the right side, turn the wheel to the right; when doing the left, turn the wheel to the left). With the gauge leveled and positioned for camber measurement on the right front, turn the wheel 20° to the right. Turntables for the wheels have a degree chart so you know when you’re at 20°, but if you don’t have them, some gauges, like the Longacre one shown here, have been machined so when the wheel is turned 20°, its bevel lines up with the side of the car. Re-level the gauge once the wheel is at 20° and use the caster adjusting knob to center the bubble at zero. Return the wheels back to straight, read the amount of caster directly across from the mid-point of the bubble.
Caster is adjusted similarly, except shims are removed from the front or rear to move the ball joint fore and aft. If the control arm is mounted behind the chassis bracket and you want more positive caster in the right front, remove an amount of shims (or washers) from the front control arm bolt and/or add them to the rear bolt.
If you’ve guessed that caster adjustments affect camber, you’re paying attention. You may need to consider a few different shim combinations to hit the right setup. But setting camber, then caster, then rechecking camber, and rechecking caster has its rewards: including a faster car, better tire wear, and a less whiney driver if you suit the caster to his driving style.
Source:
Longacre
16892 146th St SE
Monroe, WA 98272
800-423-3110
Story by Karl Fredrickson