

A recent inspection of local street stocks revealed fewer than half had properly installed seat belts. Improper installation can lead to slippage and that leads to disaster.
Stock car racing has become significantly safer over the past ten years, especially in the top classes of the sport. Energy absorbing barriers, pit road speed limits, structurally stronger cars, improved driver containment systems, and better personal safety equipment have combined to save many lives.
But, most local-level racers are far behind the safety levels of the big boys. That does not mean that every short track should invest in impact absorbing barriers or that every street stock racer should be required to wear a HANS device (although doing so would unquestionably improve safety). Many local-level racers can compete much more safely than is currently the case, sometimes without spending a dime.
Case in point–three bar links used to secure belts. Seat belt webbing threads through steel links that secure their adjusted length through friction. For the belts to hold, webbing must be properly threaded through the links. Many racers do it wrong.
We have always strongly recommended that racers should follow the installation directions provided by safety equipment manufacturers. Those recommendations were, and still are, based upon decades of testing and experience. One way to thread belts with three bar links is with the slack end passing over the center link and the tight portion below it. The left side of Figure 1 illustrates.
I agree with our military which dictates a different threading procedure for critical applications. The right side of Figure 1 illustrates this technique.
My own tension testing has confirmed differences in belt slippage for these techniques. Recent seat belt research also supports a better method.
Webbing should be threaded through three bar links differently than was recommended ten years ago. An additional reverse loop has been found to be very important. My own testing has confirmed that the additional loop can generate enough friction within the link that the webbing will not slip. I have found that the steel three bar links can fail catastrophically before the webbing slips through them. Fortunately, those failures occur at loads well in excess of survivable limits.
For no cost and almost no effort your seat belts should be installed as manufacturer’s currently recommend.
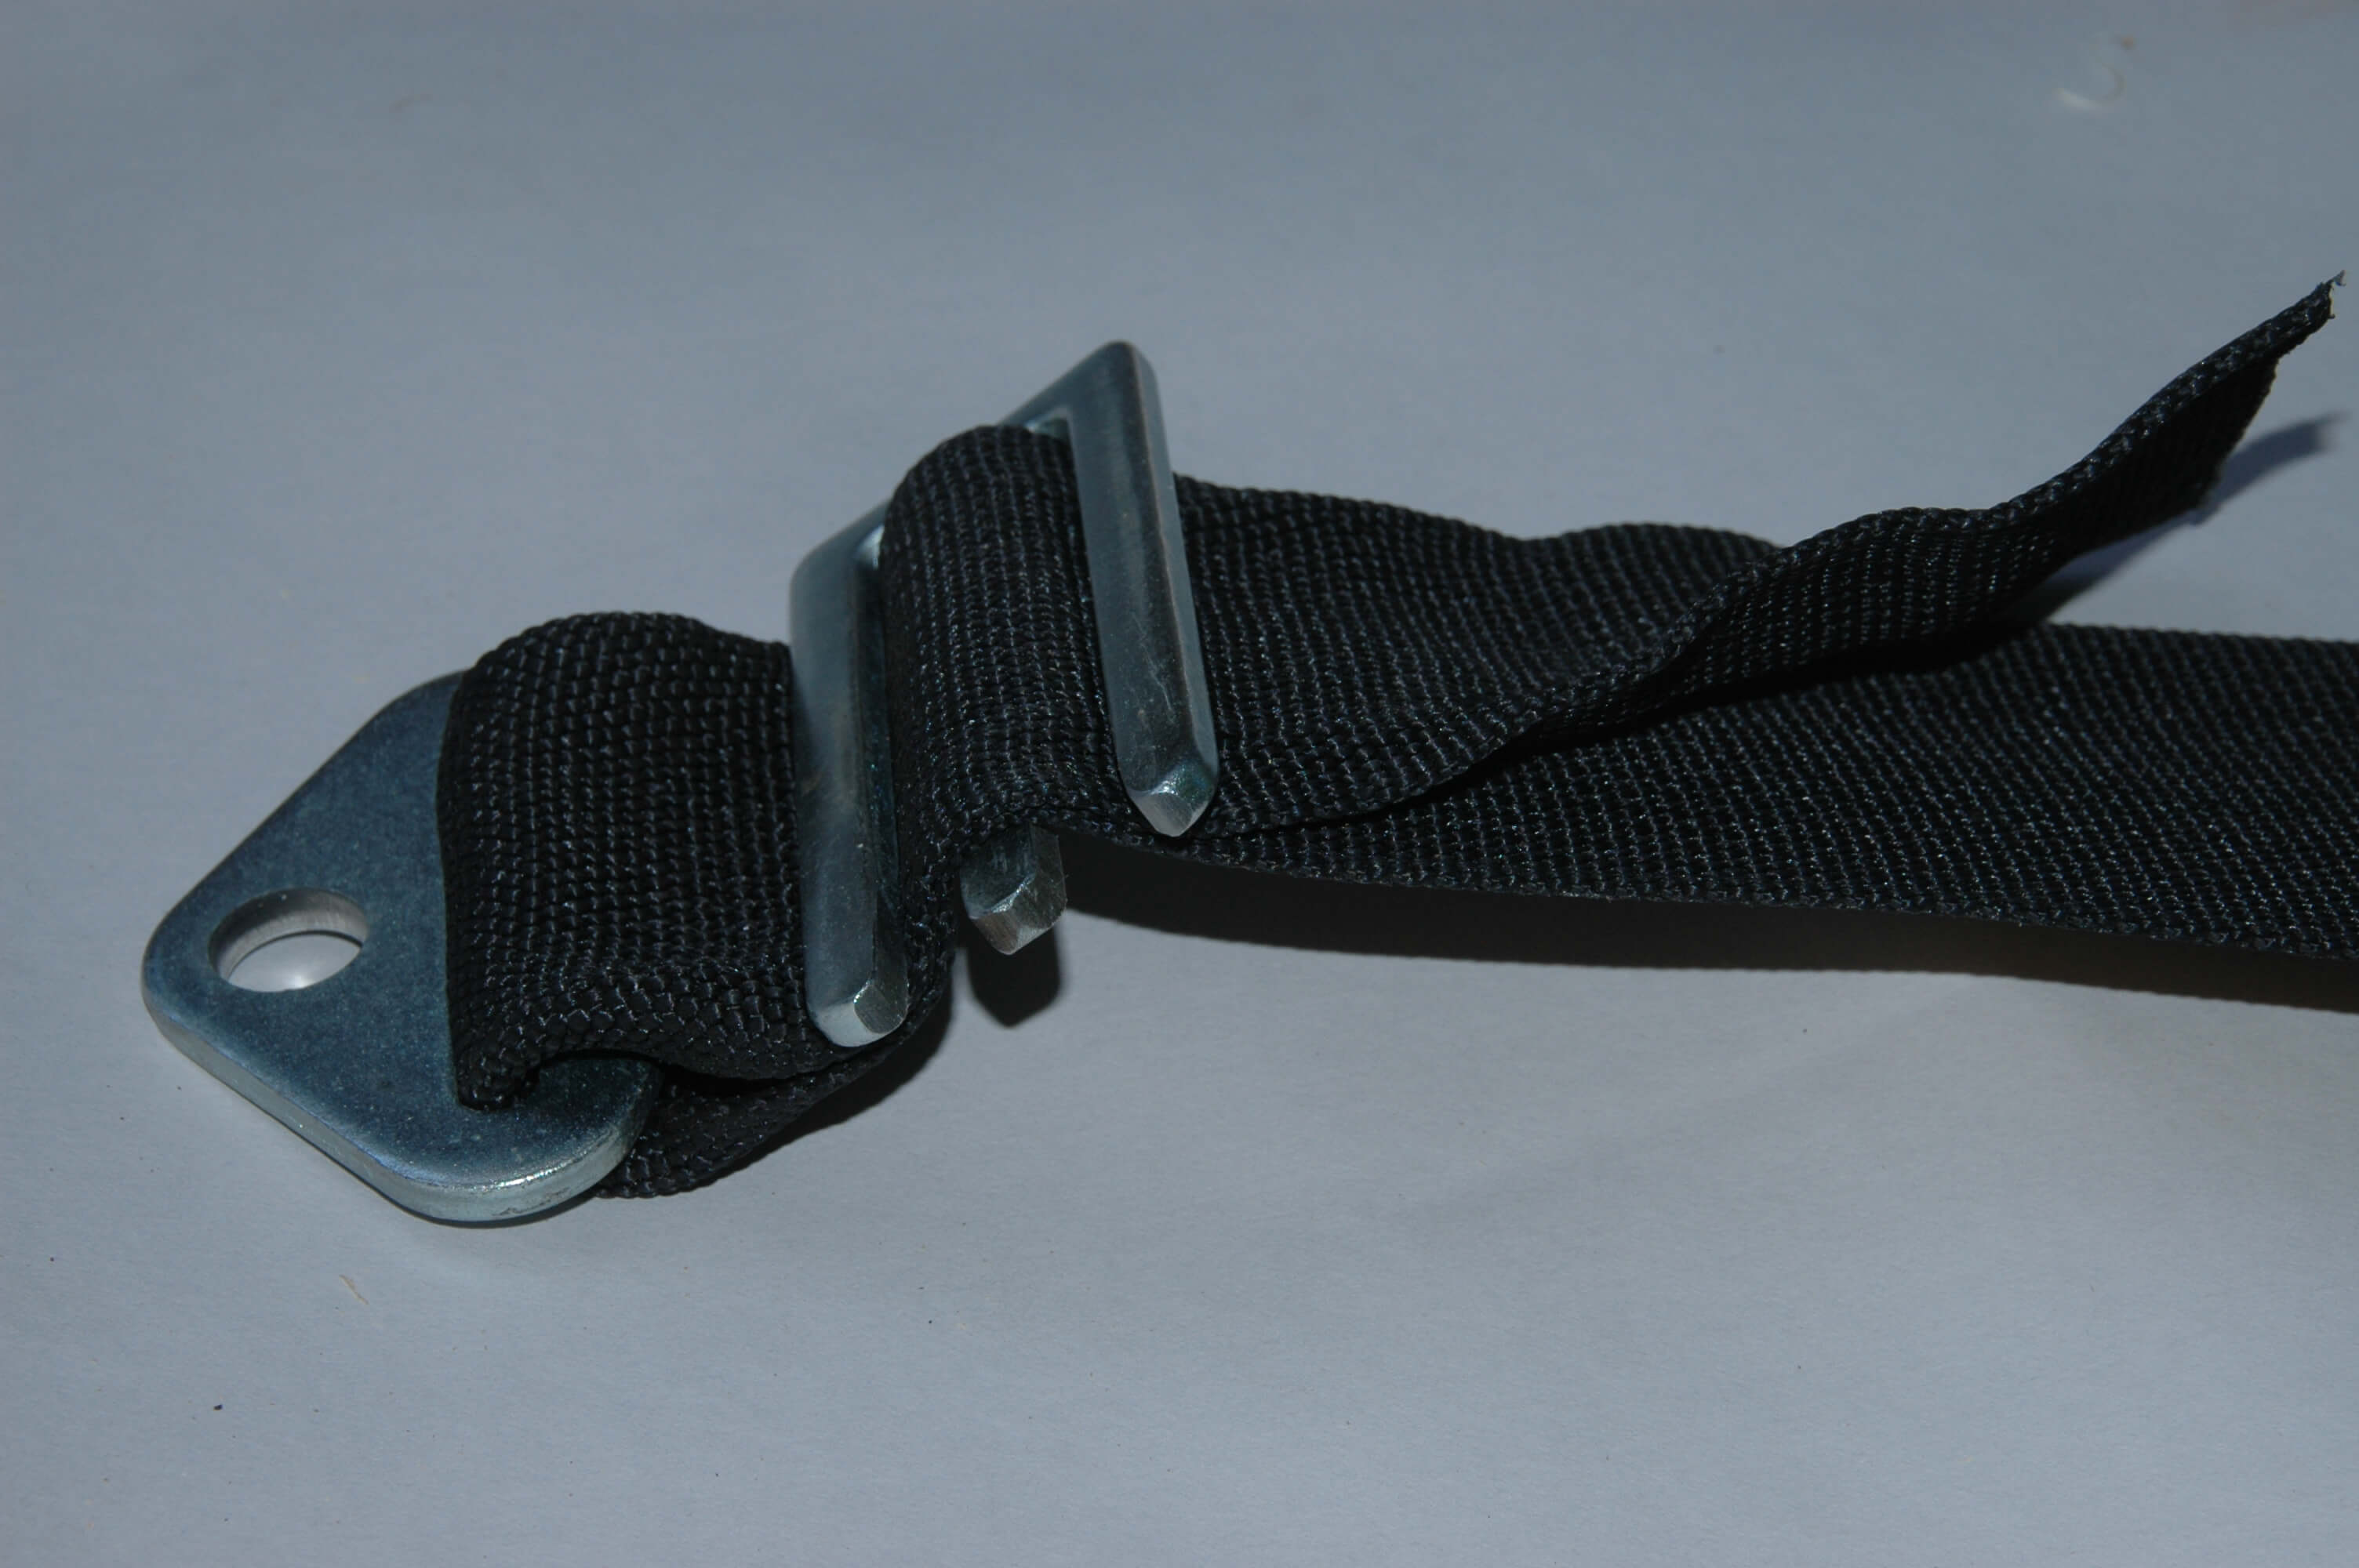
The belt threading on the top is the old way of doing it. (NOTE THAT THREE BAR LINK HAS BEEN CUT AWAY FOR CLARITY AND IS NO LONGER FUNCTIONAL.) The threading on the bottom reflects the method currently approved by the military. Both techniques call for at least four inches of slack webbing past the links. My own belt testing has indicated that the webbing threaded the way most seat belt manufacturers recommended up to the late the 1990’s (as on the left) can pull through a three bar link with a tension force of around 2000+ pounds. While a shoulder harness strap tension of 2000 pounds might sound like a lot, it can easily happen in a 20+ G wreck. That is exactly when you most need belts to remain at their initially adjusted length and not slipping.
Racing seat belts should be installed as short as reasonably possible with the shoulder straps either level or inclined slightly downward toward the rear of the car. Zero to ten degrees inclination is good. The three bar links should be installed as close to the mounting hardware as possible and the end loops should be as small as possible. Lap belts should be installed at a 45-60 degree angle from vertical in side view. The belts should pull downward and rearward around the driver’s pelvis and never around his gut. The mounting of the anti-submarine belt(s) should be done according to the manufacturer’s recommendations for the type chosen. A six-point belt system (two separate anti–sub belts) does a far better job of stabilizing the driver’s pelvis during a crash than a five point.

Older threading patterns can be easily improved by adding an additional loop through the three bar link. Begin with the webbing treaded as previously recommended. Then take the webbing’s loose end and fold it back over the first and second bars of the three bar link, then under the third link. Be sure the webbing is tight around the link’s bars. My testing has shown that this extra loop of webbing increases the pull-through strength of the assembly to a point that exceeds that of the military’s recommended threading technique and can even exceed the breaking strength of the steel three bar. The threading technique shown here is the only one currently recommended by today’s seat belt manufacturers. This is the way you should do it.
Also notice how the excess loose webbing has been rolled up and cable tied to the rest of the webbing with this simulated roll cage tube mount.
If your belts are not installed with this extra loop through the three bar links, we strongly suggest that you take a few minutes and re-thread them.